Bottom watering is the practice of watering the container plants from the bottom up. This includes placing the planters in a large container filled with water and allowing the water to be soaked up through the drainage holes at the bottom of the planter. Bottom watering has become increasingly popular among new and experienced gardeners due to its multiple benefits, such as preventing overwatering mistakes and promoting healthier root growth. Let’s discuss in detail what bottom watering is, its benefits, how to do it, and things to remember.
What is Bottom Watering?

Bottom watering is a process of watering potted plants from the bottom up. The planters are placed in a wide container of water. The roots of the plant absorb this water through the drainage holes at the bottom of the planter and that is how the whole plant gets the required water from the soil.
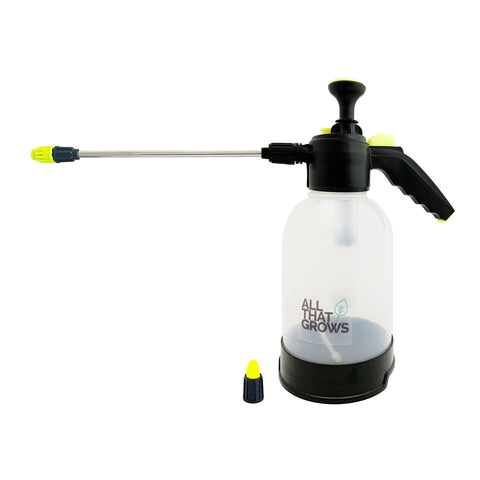
Hence, bottom watering is an alternative to common watering techniques where water is poured over the soil from the top with the help of a sprayer or hose. In the traditional top-down watering technique, the excess water drains out of the bottom of the pot. However in bottom watering, the plant absorbs water from the bottom, and the soil in the planter soaks up the moisture slowly and gradually, which is more beneficial for many plants.
Benefits of Bottom Watering

- Prevents overwatering: Bottom watering allows plants to take up only the water they need, thereby reducing the risk of overwatering. Overwatering can often lead to root rot, mould, and other plant diseases.
- Promotes healthier roots: Since the roots are taking up water from the bottom, plants are encouraged to develop stronger and deeper root systems.
- Conserves water: Bottom watering uses less water than the top watering methods since it delivers water directly to the roots rather than allowing it to evaporate from the surface of the planter.
- Saves time: Bottom watering is a hands-off approach that requires less time and effort than traditional top watering methods. Once you’ve placed all the planters in the water container, you can forget about them till the time their soil is completely moistened.
- Prevents soil nutrients from seeping through: Top watering can cause the soil nutrients to seep out of the soil when watered with pressure, while bottom watering helps keep the nutrients in the soil where the plants can use them.
- Apt for most plants: Bottom watering can be used for a variety of plants, including common houseplants, succulents, leafy vegetables and herbs, and small-medium-sized flowers.
- Reduces the risk of fungal diseases: By keeping the foliage dry, bottom watering reduces the risk of fungal diseases such as powdery mildew and black spot.
How to Bottom Water Plants?

Here are five easy steps to start bottom watering your small and mid-sized potted plants:
Step 1: Select the right container: Pick a tray or a container that is wide enough to hold your potted plants. Alternatively, you can even fill up a kitchen sink with water to submerge your plant pots.
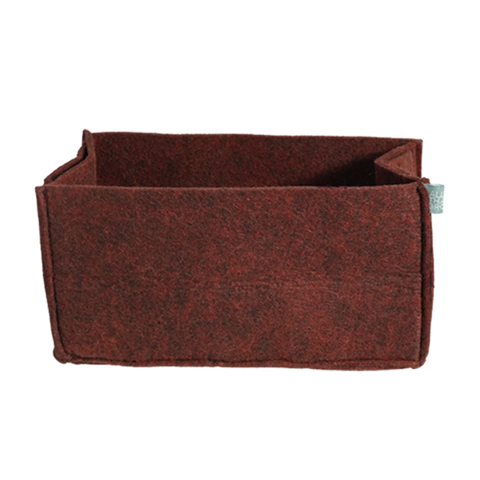
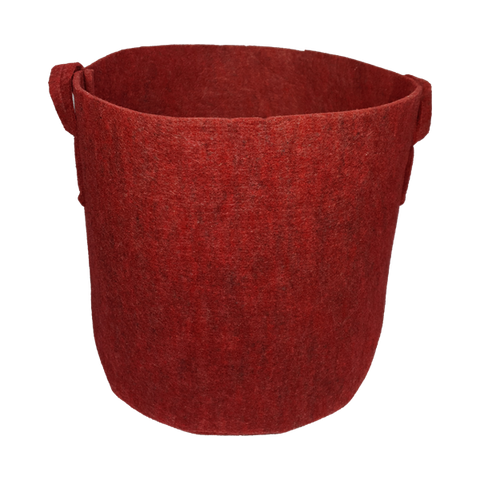
Note: Remember that certain plant pot materials like plastic, and metal may not be suitable for the bottom watering technique. Terracotta, fabric, and clay pots, on the other hand, are best suited for this type of watering technique.
Step 2: Add water: After selecting the right container, add water to this container. The water should be at room temperature. The water level should be able to cover at least the bottom half of the planters.
Step 3: Set the pots: Now place your planters in the container of water, making sure the bottom half of the planters is submerged in the water. Ensure that the water does not overflow the planter’s rim.
Step 4: Wait and check the soil: Leave the plant in a container of water until the soil is moist. Watering the plants this way in bottom watering may take between half an hour to 2-3 hours, depending on the plant's size and soil type. The soil should be damp on touching up to the top.
Step 5: Removing the planter: Once the soil is optimally moist, remove the planters from the container of water and allow it to drain completely before placing it back in its usual spot.
Things to Remember
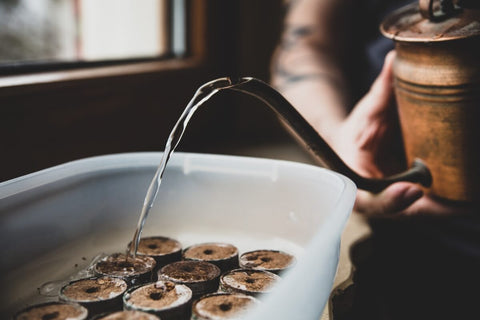
- Pick the right container: The container at the bottom that will hold up the water should be deep enough to cover the bottom of the planter. Ensure that the container is clean and free of any chemicals or impurities.
- Avoid overwatering: Remove the pot from the container of water as soon as the soil in the planter is moistened. Leaving the pot in the water for too long can lead to overwatering and root rot and fungal diseases and plant damping off.
- Use the right growing medium: Avoid using soil that is too dense or heavy, as this can hinder water absorption. Loamy and fine potting soil is best suited for this technique of watering plants.
- Monitor the water level: Check the water level in the container regularly to ensure that it does not overflow and make a mess.
- Work with small or mid-sized planters: Bottom watering involves lifting and moving planters time and again. That’s why this technique is more suitable for small and mid-sized planters.
In conclusion, bottom watering is an easy-to-follow practice for watering your plants for nurturing healthy and thriving plants. Allowing for a consistent and controlled amount of moisture for the plants helps prevent overwatering and reduces the risk of root rot, mould, and other plant diseases. Moreover, bottom watering allows plants to take up water as needed via the roots, promoting stronger root growth.


 Sign In







Let us know your feedback
* Comments must be approved before being displayed.